Up-cycle a scratched Coffee table into an upholstered bench. This is a project that I did for the first time in 2010 and this bench has been the most fought over seat in the house ever since. It serves as seating at our kitchen table and is perfect for a couple of adults or several kids. Our kitchen table is near our fireplace and so many cozy after dinner chats have taken place on this bench. Unfortunately, I didn’t use a very sturdy fabric to upholster the bench the first time and the fabric was such a mess that I needed to re-upholster it.
First I must confess that I love curb shopping – also known as garbage picking. I found this solid wood coffee table at the curb and was thrilled that upon inspection it was perfectly clean and very sturdy – it did have a couple deep scratches in the top and a few water rings but other than that in perfect condition. I drive a mini-van so I just flipped down the back seat and threw the table in the back!
Once I got it home I cleaned and disinfected it thoroughly. I painted the legs and trim blue. I bought a 3 inch thick foam pad and cut it to the same size as the table top – use an electric knife to cut foam it works great. I glued the foam to the the table top with my hot glue gun and then it was ready to upholster.
2 years later I pulled the old fabric off and the foam was still in perfect condition so I just needed fabric and batting (good thing because the foam was the most expensive part of the project.)
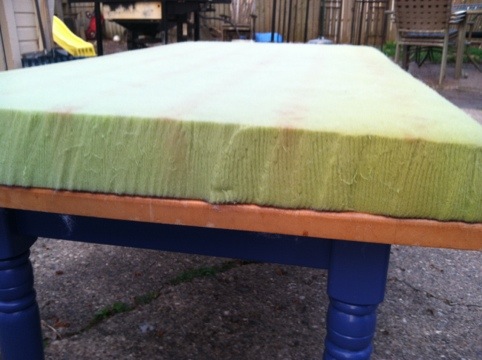
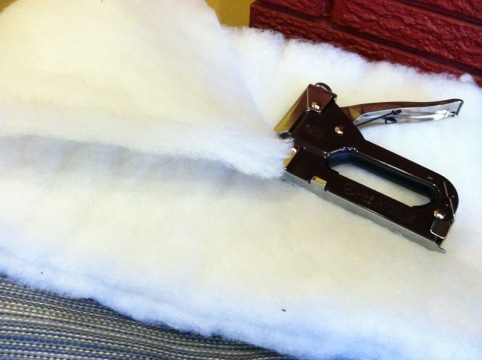
I covered the foam with polyester batting and stapled (make sure you have a heavy duty staple gun and heavy duty staples because you are stapling into hardwood) it to the underside of the table. The batting gives the foam a more rounded edge which is what I was looking for. Next I laid my upholstery fabric over the top and pulled it as tight as I could and secured it with a few staples under the table on each side once I was happy with the curve and made sure it was tight enough I flipped the table over and finished stapling leaving the corners for last.
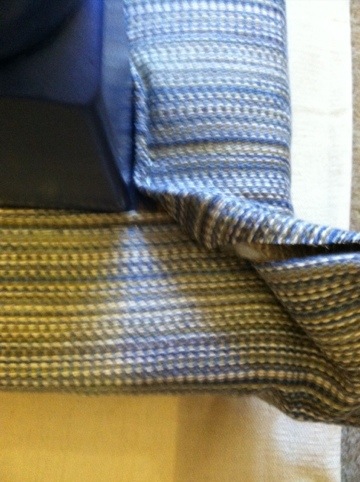
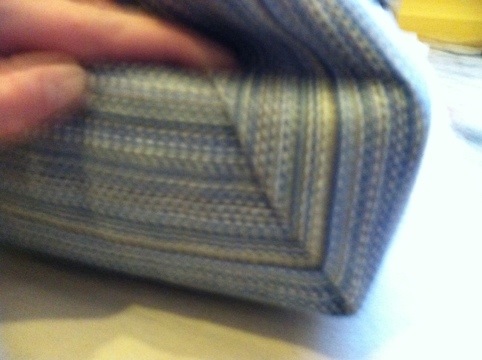
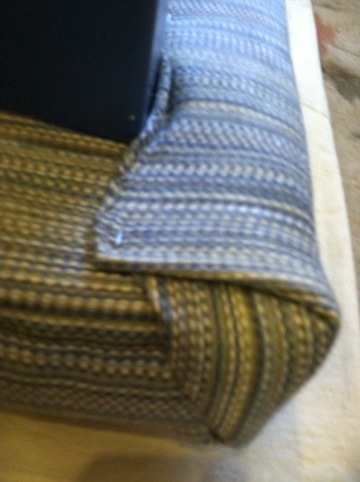
The corners are kind of like making a bed with hospital corners except I think I did mine backwards! I stapled all the way to the corner on one side then pulled the extra fabric at the corner into a point and folded it over. Trim away any excess bulky fabric then staple it down making a triangle. My photos are kind of blurry but hopefully helpful. Repeat on each corner and you are done!
The first time around I added some trim around the edges but I think this time I’m not going to bother because I’m happy with the way it looks now.
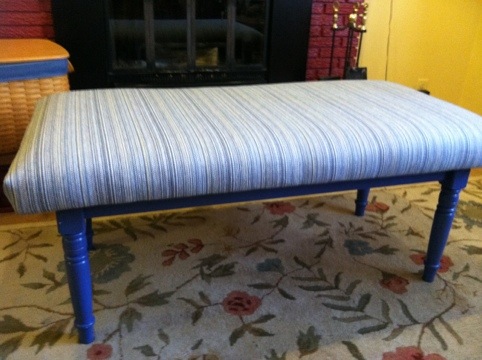

As soon as I finished the bench my son was proud to be the first human to sit on the newly covered bench – first human, because the cat had already staked her claim and so the fighting over the best seat in the house has already begun!