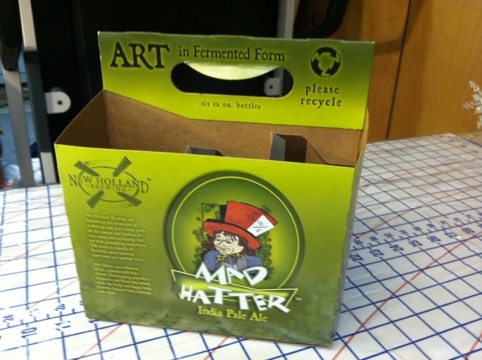
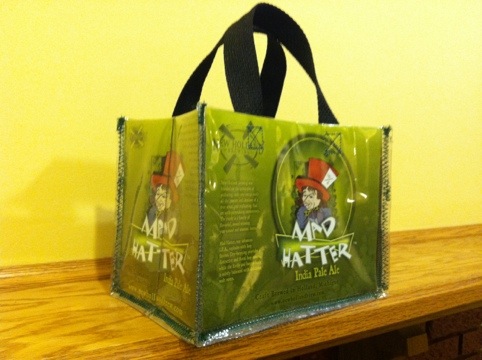
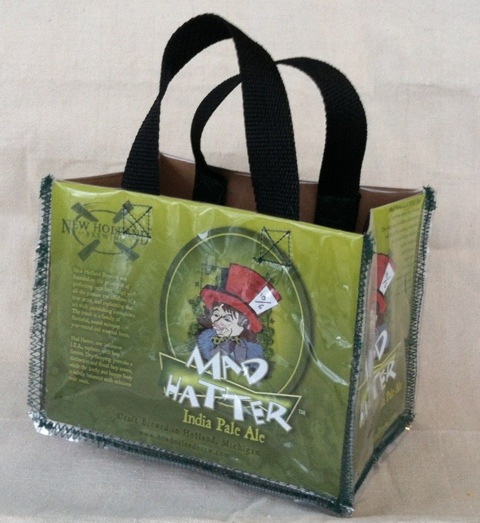
I like beer! A friend of mine posted a comment that she had lost a bet because I didn’t have any up-cycled beer can projects on my blog. First of all, she should know that I prefer my beer in bottles. Second, she should know better than to lay down what I can only consider a challenge! So today I made an up-cycled cardboard beer carton purse. I decided to class it up as much as possible by using a box from a “premium” beer!
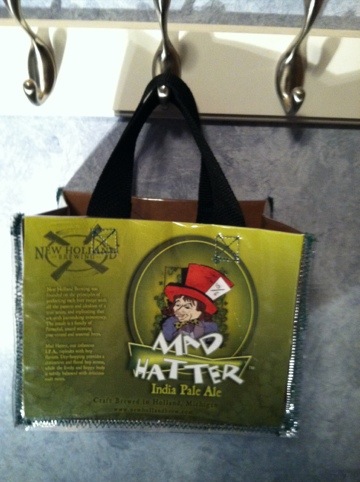
I cannot take credit for this project because my cousin made these years ago and that is where I got the idea. This is how I made mine which is really more of a small tote bag than a purse – next time I will figure out how to put in some pockets and a lining but overall I’m happy with my first attempt.
Supplies:
- Six-pack carton
- Clear Vinyl from a fabric store about 3/4 yard (16 Gauge)
- sewing machine
- scissors
- 1 inch wide webbing or ribbon for handle about 1 yard
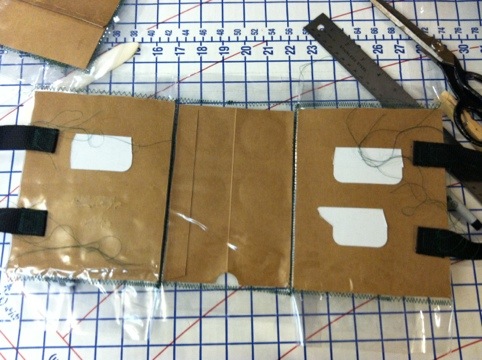
Start with a cardboard six-pack beer carton. Cut it apart discarding the handle and cardboard dividers. You will have 5 pieces: the bottom, front, back and 2 ends.

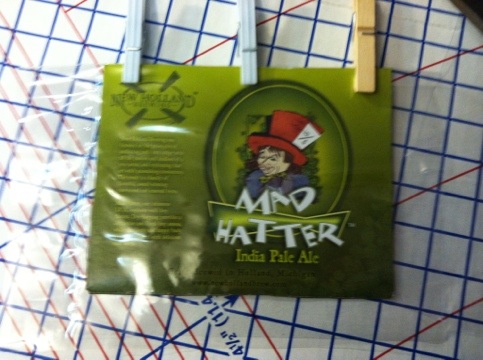
Next step is to cover each piece with the vinyl. Measure your front and back pieces – mine was 7 1/2 inches wide and 6 inches high. Double the height and add 2 inches to the width. I cut a piece of vinyl 14 inches by 9 1/2 inches. I folded the vinyl in half and put the cardboard between the 2 halves with the top edge of the box in the fold. Then I sewed with a wide zig-zag stitch around the 3 sides next to the cardboard to secure the piece in the vinyl leaving an inch of extra vinyl on the 3 sides.
Now the same for each of the ends – mine were 5 inches wide by 6 inches high so I cut vinyl 12 inches by 8 inches. Again fold in half and put the top edge in the fold; stitch around to secure.
For the bottom cut 2 pieces 1 inch bigger all the way around and then center the cardboard bottom between the vinyl pieces and stitch around to secure.
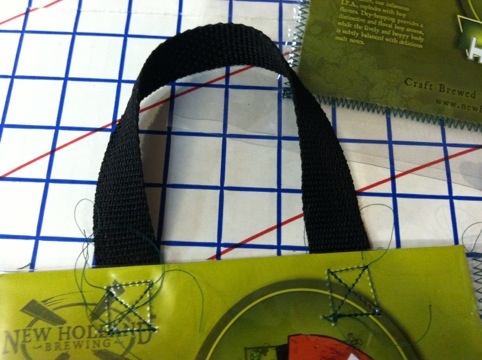
Attach the handles. I cut 2 – 14 inch lengths of the webbing then turned each end up 1 inch and stitched it down. Then I stitched the handles to the top edge of the front and back pieces about 1 1/2 inch in from the ends. I stitched an X to reinforce it just in-case the bag gets called into heavy duty.
Now the difficult part. I started by sewing the wrong sides together of the bottom piece to front panel bottom edge. I used a zig-zag stitch with the seam on the outside of the bag stitching as close to the cardboard as possible. Do the Same with the back panel. Then sew each of the ends to the bottom wrong sides together with the seams on the outside.
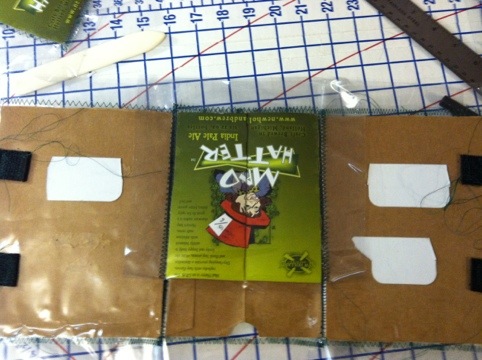
OK that part really wasn’t difficult the next part is – if you are prone to swearing send the kids out of the room for the next part. Now sew the side seams – I had to fold the bottom and “gently” bend the rest of the box towrestle the seam under my needle. At one point I was so disgusted that I thought I would hand sew the side seam – which was even more difficult so I gave the sewing machine another try. Just go slow and be patient and keep “gently” bending – the cardboard is designed to carry six bottles of beer it can handle a little bending!
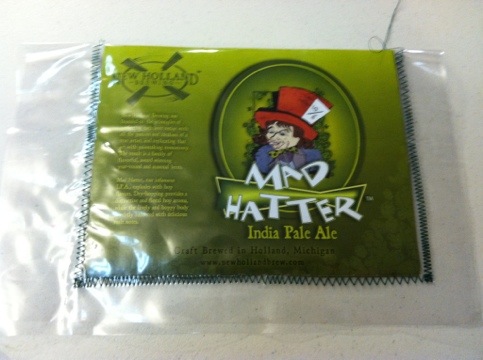
Now trim off all that extra vinyl up to the stitching and you are done! Not an up-cycled beer can – much better I think! And the beer was good too.

Need one! Must have! I turn 50 in two years, get on it!
So clever!
Pingback: Beer Purse Revisited « jezzicasprojects