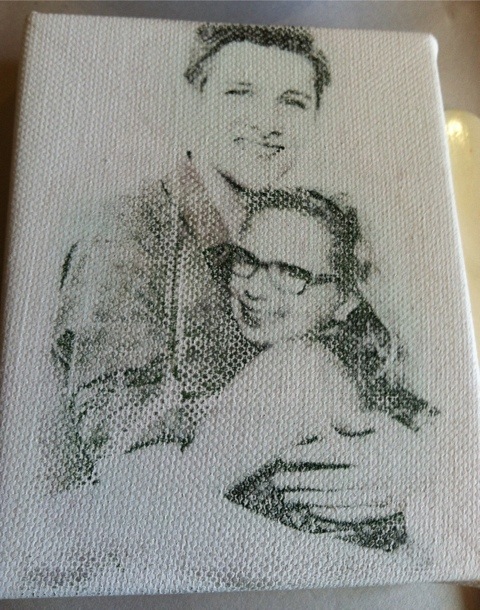
I found a great way to transfer an image using a blender pen and I couldn’t wait to try it with a photo of my kids. I transferred a photo to a canvas which worked pretty well, but then I got carried away and spent the entire evening “embellishing” it. I need to learn when to quit because I ended up with a project that I ruined.
First let me explain this nice easy technique that can be used to transfer a photo, text or other image to fabric, wood or paper.
You will need:
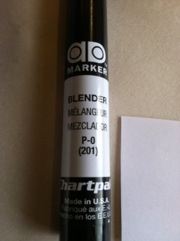
A blender pen that contains Xylene – I bought the Chartpak Ad Marker Blender at an art supply store for $4. There were several other brands of blending pens but they were alcohol based and didn’t work (the first blender I bought didn’t work!)
An image printed from a laser printer or toner copier, not an ink jet. You will want to reverse the image before you print it – in Word you just flip the picture horizontally. (Update: color copies will transfer BUT because of the way the colors are printed, the color of the photo may be distorted – I suggest you print an extra copy and do a test onto another sheet of paper to see how your image will transfer.)

Tape to keep your image from moving while you are working – I use blue painters tape.
Something to burnish or rub the image like a bone folder or the back of a spoon.
Something to transfer on to – fabric, wood, paper, etc. Based on my reading something that is fairly smooth and porous works best. I used a canvas that I bought, but I had trouble burnishing it because the center had too much give to it and the edge of the wood stretcher bar left a mark. Update: simple solution for the center of the canvas – find something firm to support the center like a book or cardboard that will fit in the center of your canvas when you are burnishing.
How to do it:
Tape your image face down to the item you are transferring to – be careful that the tape does not cover any of the image.
Color the back of the paper with the blender pen – the paper will become translucent so you will be able to see your image.

Once you have gone over your entire image, gently but firmly burnish or rub over the entire image. Be careful not to tear your paper or shift the image. Once you have burnished the entire image you may peel off your paper and say “Ta Da!”
That’s it, easy! I will be doing more projects using this technique, hmm maybe on some pallet wood.
Once I had my transfer to the canvas complete I got a little carried away with
embellishing. First I decided to hand color my photo…then I added some rubber stamping… and some words…and some paint… and a paper doily (what was I thinking?)… then I painted the doily gold…then I colored some more… hmm I think a flower…STOP too much! It went from a cute little canvas to the bride of Frankenstein. I should have stopped sooner. Oh well, it kept me entertained for an entire evening. My son has banned me from posting a photo of the “finished” project, so you will just have to use your imagination.

Great job! If you place a book under the back side of the canvas that should give you enough pressure. I had to use a phone book for the project I made for my mom but it worked great. I’ll send you a pic later. Love reading your posts!
Thanks Diane! I realized too late that I needed support under that canvas and my mind wasn’t working, a book would have been perfect. Next time I will be better prepared!
Hi Jess,
You continue to amaze me !!! Very good likeness.
Pingback: From Black and White Copy to Watercolor Painting « jezzicasprojects
Cool! This is great! You should share this on instructables.com or cutoutandkeep.net. The amount of detail an the photos here are just right.
Lorna,
Thank you for the kind words. I need to figure out how to post to these sites.
It’s super self-explanatory once you sign up with them. Good luck!
Pingback: A Garden Sign to help Chase away the Blues « jezzicasprojects
My art teacher used to say it takes two people to do a painting…one to actually paint it and the other to knock him in the head when it’s done. 🙂 Love this. I pinned also. Linda
Thank you Linda!
How do you burnish it?
I have the same question, How do you Burnish it, what do you use??
Hi Pamela –
The back of a spoon works well or a bone folder works too. Good luck, let me know how your project turns out.